
Scaffold a SaaS App
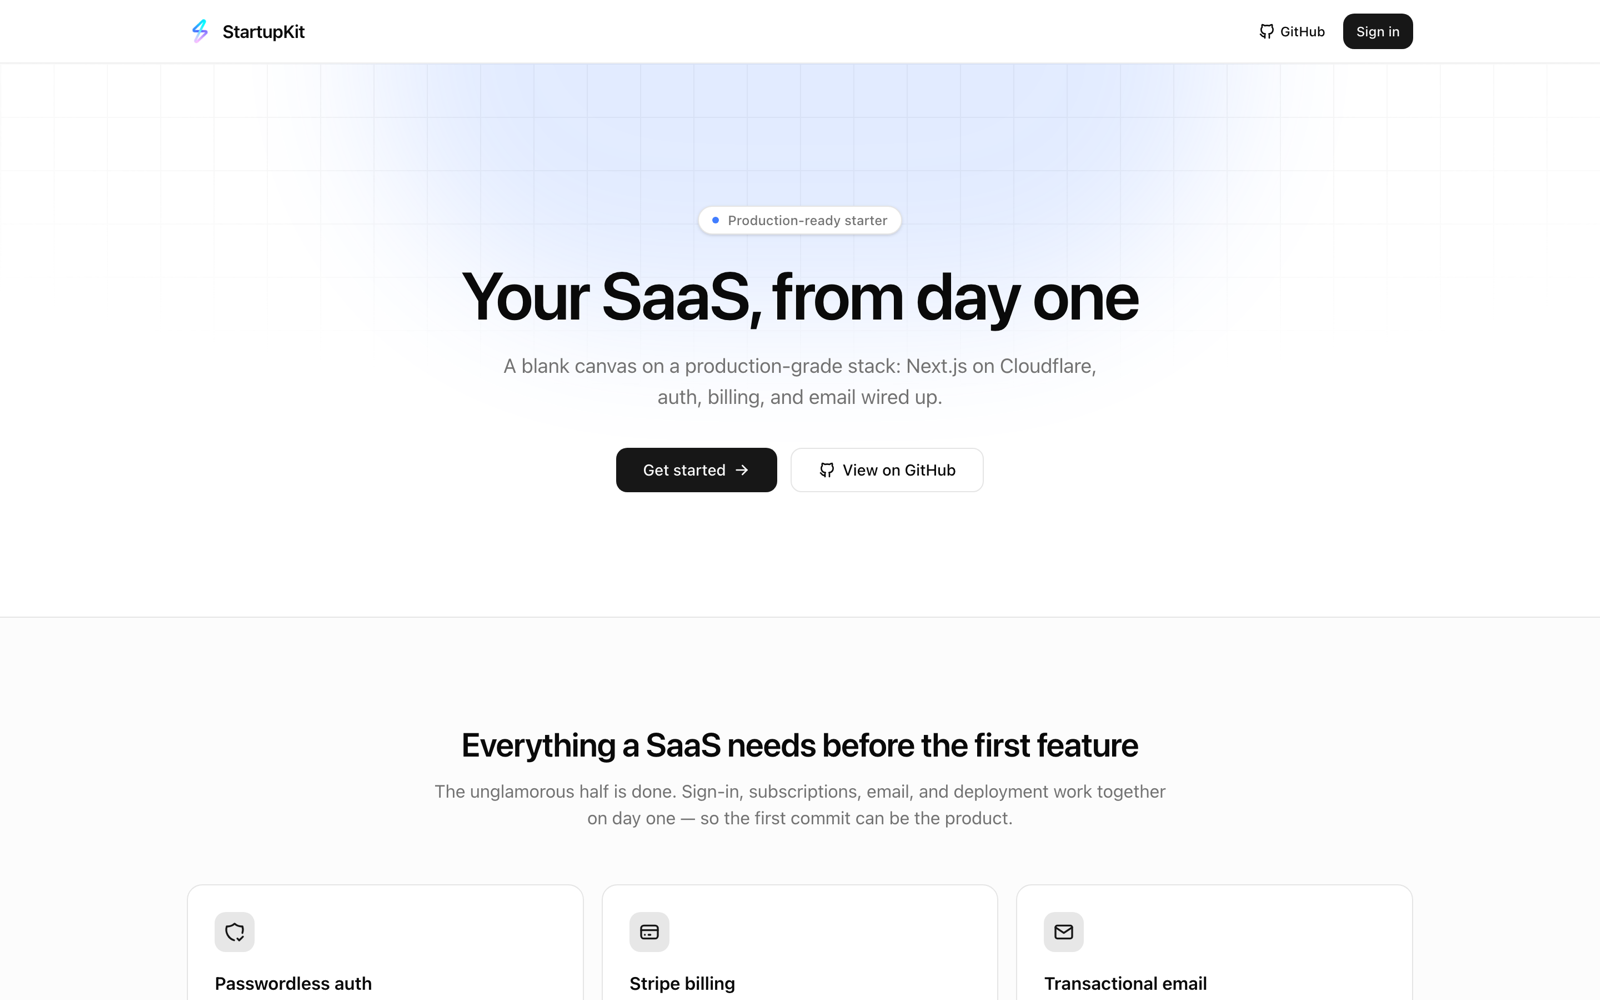
Optional: run npx startupkit init to scaffold a production-ready SaaS — Next.js on Cloudflare, auth on D1, Stripe billing, email, and a /brandkit page — or bring your own stack.
StartupKit Stack is a production-ready starting point for a new product:
a blank SaaS application — Next.js 16 on Cloudflare Workers, auth on D1, Stripe
billing, transactional email — scaffolded with one command. This is the same
flow the CLI's init command performs on your machine.
What Stack is
Stack is StartupKit's free way to start building: a working app with the parts every SaaS needs already wired together, prebuilt auth, analytics, and SEO packages, and an agent skill so your AI agents know how to operate the repo from the first prompt. It's the same kit 01 uses to ship its own products.
Why it's needed — and why it's optional
Every new product starts the same way: a blank repo and a week of glue work — auth, billing, email, migrations, CI — before a single line of product code gets written. Stack exists to delete that week.
But it's a byproduct, not the point. As 01 shipped product after product across web, mobile, and npm, standardizing on a Cloudflare-native stack became the only sane way to keep moving — Stack is that internal standard, open-sourced.
So: this page is optional. If you already have a stack you like, skip it and bring your own — Research, Launch, and Ads work with whatever you build. Nothing in StartupKit requires the scaffold.
1. Scaffold the project
npx startupkit init "My SaaS"
cd my-saas
This creates the project folder from
01-studio/startupkit/templates/repo,
initializes a fresh git history, runs bun install, and installs the
startupkit agent skill
so your AI agents know how to operate the stack. A root AGENTS.md (with
CLAUDE.md) ships too — the Stack guide: our default agent behaviors
(how we work, Linear workflow + etiquette, the git-worktree workflow,
SDLC/ADLC) plus a ## StartupKit Stack section for this scaffold. Refresh it
with npx startupkit agents --stack; use npx startupkit agents to install the
tool-agnostic default guide in any other project.
What's inside:
- Next.js 16 App Router served by a single Cloudflare Worker (OpenNext)
- better-auth — email OTP sign-in + optional Google OAuth, sessions on Cloudflare D1
- Stripe billing — checkout, customer portal, webhook subscription sync
- Transactional email — Cloudflare Email by default; swap Resend or Postmark by config — plus React Email templates
- shadcn-style UI, Tailwind 4, next-intl, vitest, and a tester.army e2e browser suite with a GitHub Actions CI workflow
- Brand kit at
/brandkit— paste-ready directory copy, brand assets (logo, OG image, X/LinkedIn/Facebook/YouTube banners, screenshots), and a submission tracker. Public by URL, never indexed
Options: --dir <path> (destination), --repo <user/repo[#branch]> (template
source), --no-install (skip bun install).
Prefer plain degit?
npx degit 01-studio/startupkit/templates/repo my-saas2. Local environment
cd apps/web
cp .env.example .env.local
cp .dev.vars.example .dev.vars
openssl rand -base64 32
Put the generated value as BETTER_AUTH_SECRET in both files — they must
match or sessions will randomly fail.
3. Create the database
The template uses Cloudflare D1 (serverless SQLite):
bunx wrangler d1 create startupkit-dbCopy the returned database_id into wrangler.jsonc and
wrangler.next-dev.jsonc, then apply the migrations locally:
bun run migrate4. Run it
bun run dev- App →
http://localhost:3000 - Email preview →
http://localhost:3001(React Email dev server)
Sign up with any email — locally the OTP prints to the dev server log instead of being emailed.
5. Billing & email — your choice
Billing defaults to Stripe — it's an integration, not a lock-in. More payment providers coming soon.
- Create a recurring "Pro" product in Stripe (monthly + yearly prices)
- Set
STRIPE_SECRET_KEY,STRIPE_PRICE_PRO_MONTHLY,STRIPE_PRICE_PRO_YEARLY, andSTRIPE_WEBHOOK_SECRETin.env.local - Point a Stripe webhook at
https://<your-domain>/api/stripe/webhookforcheckout.session.completedandcustomer.subscription.*
Upgrade buttons appear on /settings once STRIPE_SECRET_KEY is set.
Email delivery is yours too. Three providers, Cloudflare by default — swap with one env var:
| Provider | Set | Notes |
|---|---|---|
| Cloudflare (default) | Email Service binding, or CLOUDFLARE_ACCOUNT_ID + EMAIL_API_TOKEN | no API token once the sending domain is verified |
| Resend | EMAIL_PROVIDER=resend + RESEND_API_KEY | |
| Postmark | EMAIL_PROVIDER=postmark + POSTMARK_SERVER_TOKEN | optional POSTMARK_MESSAGE_STREAM (default outbound) |
If EMAIL_PROVIDER is unset, a configured key auto-selects that provider; with
nothing configured, email prints to the log so local flows still work.
6. Deploy
cd apps/web
bunx wrangler secret put BETTER_AUTH_SECRET
bunx wrangler secret put BETTER_AUTH_URL     # https://yourdomain.com
bun run migrate:remote                       # prod D1 migrations
bun run deploy                               # build + upload + shift traffic
Add your domain to the routes block in wrangler.jsonc for a custom domain.
Verify a sending domain in Cloudflare Email Service so transactional email
delivers (the EMAIL binding is pre-declared).
7. Push to GitHub
gh repo create <org>/<name> --private --source . --pushCI (lint, typecheck, test) runs automatically on every push.
Enable Dependabot security updates — version updates already come from the
template's .github/dependabot.yml, but security updates (PRs that fix
vulnerable dependencies) are per-repo settings and off by default for private
repos:
gh api -X PATCH repos/<org>/<name> \
  -f security_and_analysis[dependabot_alerts]=enabled \
  -f security_and_analysis[dependabot_security_updates]=enabled
8. Make the brand kit yours
/brandkit ships describing StartupKit itself so it is complete out of the box.
Make it yours before you start submitting to directories:
apps/web/lib/site.ts— name, URL, one-liner, tagline (≤10 words), short line (≤60 chars), category, socials. This also drives the site's<meta description>and Open Graph / Twitter card tags.apps/web/app/brandkit/page.tsx— rewrite the long-description tiers (Launch, SaaS, B2B review, AI directories, Dev) and the Submit-next rows for your category.- Swap
apps/web/public/favicon.svg, then regenerate assets with Chrome headless:
bun run brandkit:assets --skip-screenshots                                      # logos, OG image, social banners
BRANDKIT_BASE_URL=http://localhost:3000 bun run brandkit:assets --only=screenshots   # with the app running
bun run test guards the ≤60 / ≤10 constraints and rejects placeholder text.
What's next
- Read the scaffold's own
README.md— full setup reference - The scaffold's root
AGENTS.md— default agent behaviors + the Stack section (Agent Guide,npx startupkit agents --stack) - CLI Reference — research commands + auth
- MCP Setup — give your agents research tools
CLI Reference
Full reference for the startupkit CLI: domains, trends, keywords, SEO, SERP, app store research, and init scaffolding commands.
Agent Guide
Add or refresh a project's AGENTS.md with the startupkit CLI — the default guide for any project, or the StartupKit Stack superset, and how to merge it without clobbering your own conventions.